
This is a Voice Assistant I made, using ESPHome. I’d call it completed, but I hope to be able to upgrade the functionality a bit later on (see below).
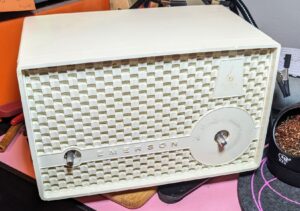
I found this radio in an old house that I was given the chance to dig through before it was demolished, and thought it was pretty cool.


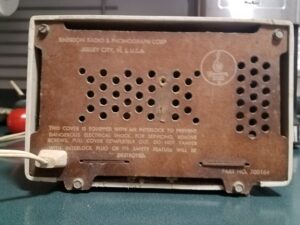
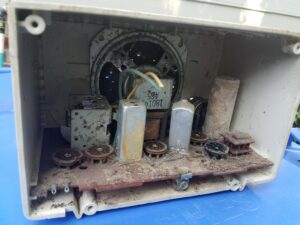
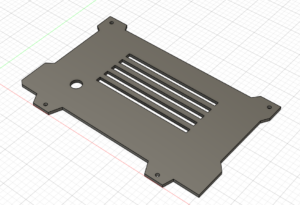
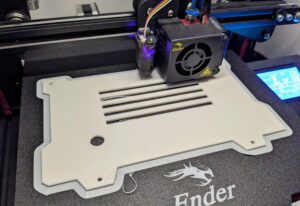
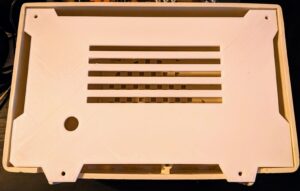
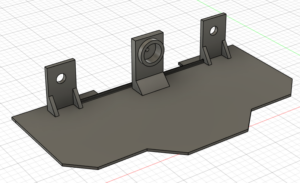
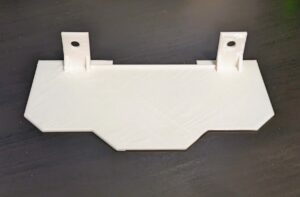
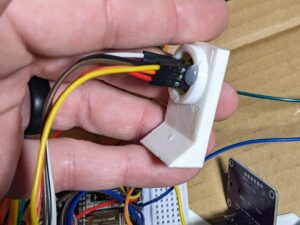
Clearly, I wasn’t able to reuse any components. Even the back was much too warped to be used. I ended up custom designing the back and inside insert in Fusion 360 and 3D printing them myself. I added the mic holder later. After installing the LED rings, I attached it to the inside shelf with double-sided tape.

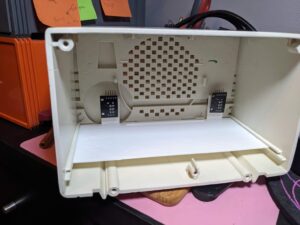
Then it was just a matter of assembling it all. I didn’t get any great photos of the final assembly process, just a couple of the test assembly (using the first version of the shelf I printed) as you can see above. The mending plate is taped to the top of the shell, and does a good job at detecting touch pretty much anywhere on the top of the radio. The left rotary encoder controls the brightness of the LED rings, and clicking it in toggles the WLED protocol “effect” (I use LEDfx for audio reactive effects, see the demo video below). The right one I hope to use as a volume control soon, and clicking it toggles it between wake word and touch to talk. There’s also a small button on the rear that lets me toggle the LEDs or reboot when held for 5s.
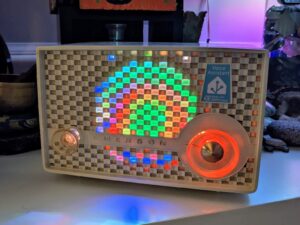
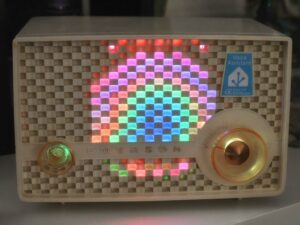
I also designed a sticker for the front of it, see the finished photos below.
Code wise, it was pretty easy to set up (there’s a link to my yaml below). I created some animations for the LED rings, like when it completes booting and connects to Home Assistant and when it’s listening. I’m still working on more, I’ll update this post when I finish them.
One issue that I ran into was that I seemed to have to use the speaker component in ESPHome. I tried using media_player, hoping to be able to use this as an internet radio player too, but I ran into issues with the TTS audio playback. Using media_player would also allow me to use a rotary encoder to control the volume. The media_player component is being actively developed though, so I’m hoping to update it soon.

And here are some videos of it in action:
Parts Used:
- ESP32
- INMP441 (Mic)
- UDA1334A (DAC)
- SPST Momentary NO button
- WS2812B LEDs (I used 6 rings, 93 LEDs total)
- 2x Rotary Encoder
- 12V to dual 5V buck converter
- Mending plate (for the touch functionality)
- Small set of “computer speakers”